For most property owners, the toilet is a set-it-and-forget-it fixture. We can’t blame them; the toilet is incredibly reliable and durable. Still, it’s neither indestructible nor failsafe. Complacency is why many homeowners and businesses feel like toilet installation and repair seems to come up at the worst times.
As it turns out, routine maintenance and proper care can prevent unexpected repairs and a premature toilet replacement. If you want to get the most out of your humble toilet, then help it help you. One task to consider is cleaning the toilet tank.
In this brief article brought to you by Neighborhood Plumbing, we stress the importance of cleaning the toilet tank and offer some tips on how to do it properly. If you’d rather leave the dirty work to a plumber, then contact Neighborhood Plumbing to hire a uniformed professional today.
The toilet tank is the portion of the toilet holding water to flush into the toilet bowl. Cleaning this component is not just about keeping things looking nice; it’s a key part of toilet maintenance. Here’s why:
1. Minerals from hard water accumulate inside the toilet tank over time. These deposits can cause stains but will also affect the function of the flushing mechanism and may cause clogs. Additionally, stagnant water inside the tank can encourage the growth of bacteria and mold. This growth can result in unpleasant odors and health hazards.
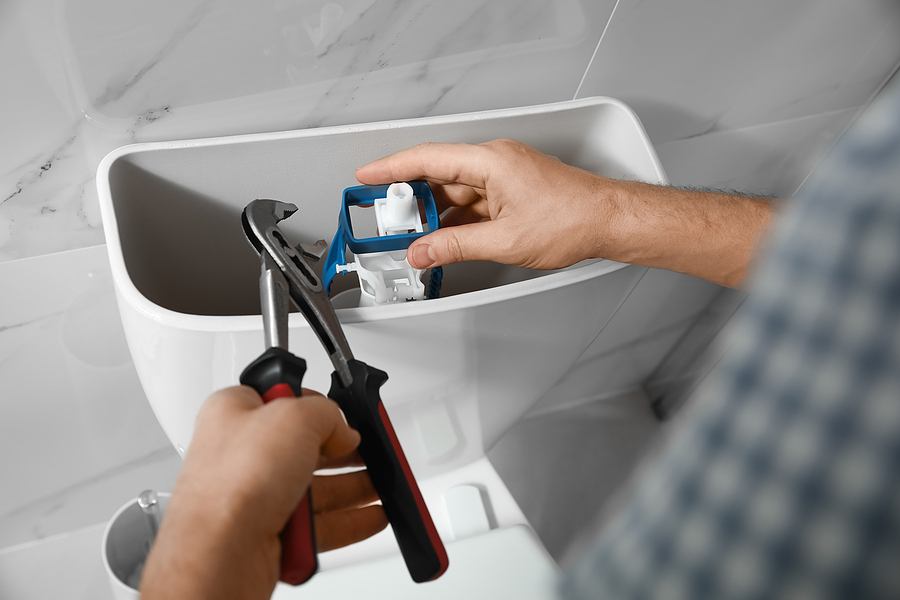
2. Essential parts like the fill valve, flapper, and float are in the toilet tank. If these components get coated in grime, they may not function properly. This can mean weak flushes, continuous running water, or even leaks. Regular cleaning reduces the likelihood of breakdowns.
3. Since the tank supplies the water that flushes your toilet bowl, keeping it clean can help ensure that every flush is as fresh and hygienic as possible.
In short, regular cleaning keeps the toilet tank clean, functional, and sanitary.
Cleaning your toilet tank isn’t complicated, but it does require some attention to detail as well as some tools and materials. Before you start, you’ll need:
With your supplies in hand, locate the shutoff valve behind the toilet and turn it clockwise to cut the water supply. Next, hold down the flush lever until most of the water drains out of the tank.
Now, you can get a good look inside. Check for mineral buildup, rust stains, or black mold spots. If you notice any severe damage or worn-out components, this is a good time to consider replacing them.
To clean the gunk, you’ll need a solution of equal parts white vinegar and water. Using a toilet brush or sponge, scrub the walls, bottom, and components inside the tank. Fill the bottom of the tank with a small amount of the mixture, too. Let this sit for 20-30 minutes to break down mineral deposits.You can also add baking soda for extra cleaning power.
After 20-30 minutes, you can turn the water supply back on and let the tank fill. Flush a few times to rinse away any remaining cleaning solution.Don’t forget to clean the outside of the tank and around the base of the toilet for a thorough refresh.
While regular cleaning can keep your toilet clean and gunk-free, it’s not going to fix disrepair or serious damage. If you notice rust or corrosion on metal parts, the toilet isn’t flushing properly, there are leaks, or the toilet runs long after the flush is complete, then it might be time to consult a trained plumber.
Homeowners and businesses looking for licensed and experienced plumbers can contact Neighborhood Plumbing to get in touch with a live representative today. We’re happy to schedule an appointment or arrange an urgent dispatch for as soon as possible.

A functioning garbage disposal makes kitchen cleaning easy and…
.jpg)

Desimond was very courteous, knowledgeable, and professional. We would recommend him for your plumbing needs. Same day service and an easy process overall.
Excellent work. Clean, effecient, timely, and friendly. Wore mask and kept a proper social distance. I would use Neighborhood Plumbing again. For an emergency repair…
Used them for my rental property in Pittsburgh for leak detection and repair. Their technician showed up on time and were able to locate the…